If you’re planning to build a DIY timber fence, there are some things you should know. First, you must know the length of the panels. You can use a mason’s or builder’s line to ensure that the length is correct. Then, you need to place two by 4 rails 61cm apart. Next, attach the support boards to the rails using decking screws. Once you have nailed the top and bottom boards, you can finish the fence.
When building the fence, be sure to use a level or a spacer. This is because the boards will look messy if they aren’t evenly spaced. Also, ensure that the board thickness is the same across both rails and at the same height. After nailing the first rail, you can attach the second one.
Staining the timber boards before assembling them is a good idea because it will give it a cleaner look. It also prevents rot by keeping water out of the end grain, where most of the rot starts. It will also help preserve the colour of the timber for many years to come. You will need about a 3.5L of quality latex stain for every 3.6m of fence.
Once you have decided on the length and height of the posts, you can install the fence. If you have any doubts, use a string to mark out the area. If the posts are not plumb and level, you can use a temporary brace to prevent them from moving around. Also, remember to mark the line with string and make sure that the string is taut and level. After all of these, install the middle and top rails.
Preparing the ground is the first step in building a DIY timber fence. First, you need to dig holes for the posts. Dig posts at least 60cm deep. You can also use a post-hole digger instead of a spade. Make sure that the first post is level with the measurement taken earlier. You should also place intermediate posts along the fence line, using a spirit level.
When building a wooden fence, you need to check the section’s boundaries. Lastly, you need to consult with the municipality to find out if a permit is required. Before you start building, map the area where you plan to build the fence. This will help you visualize the design.
Another way to create a DIY timber fence is by building a wooden fence with a gate. You can purchase the necessary materials at a hardware store. Remember to choose the right size of the fence stakes – the larger they are, the more durable the fence. Then, consider applying a coat of paint to the wood. This will ensure that the fence will stand up to all weather conditions.
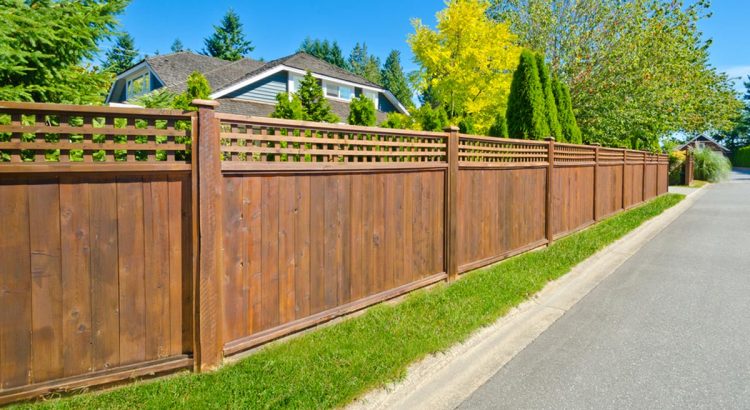
The design of a DIY timber fence can be patterned after the design of the house. It will look more attractive if the panels are spaced out. This way, you can get the desired look and feel. The different shapes and textures of the wood will make it look more natural. You can even add a subtle detail like an indentation running around the overall framing.
When building a DIY timber fence, you need to know your local planning laws. If you live in a city, check whether you need a special permit to build the fence. Choosing an appropriate wood stain is vital to avoid rot. It will also protect your new fence from UV rays and water damage.
Before installing the fence, you need to set the fence posts. Ideally, you will place one post every 2 metres along the fence line. You should also space the posts evenly. You can use a post-hole digger or a two-person auger to dig the post holes. Make sure you are careful not to dig over utility lines and pipes.